
1953 Chevy Truck - Exterior and Test Drive
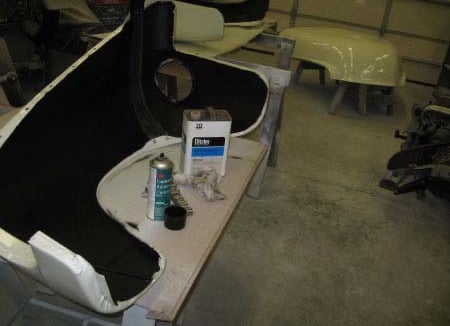

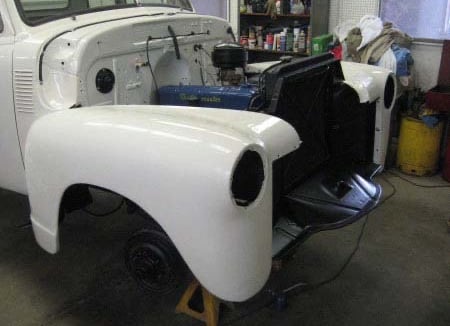

The front fenders and hood were undercoated with a 3M product #08883. It goes on as a medium film and dries to paintable in about an hour. We've used this product several times and not always gotten the same can design, but the number is the same. We hope 3M will continue to make a product like this. It's great for a finished look along with some degree of sound deadening and protection from stone damage.
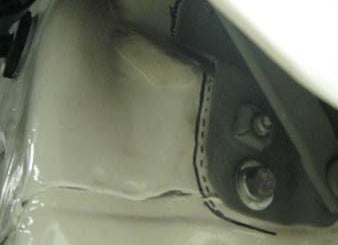
The edges of the front fenders were sanded and buffed around the cab and grille areas. Other than that, the 'extra' paint was left on in order to provide a little more protection while mounting and doing final things under the hood such as running the heater hoses and headlight wires.
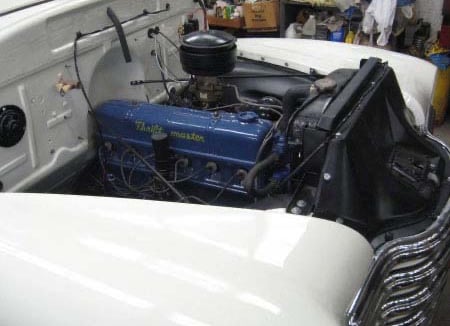

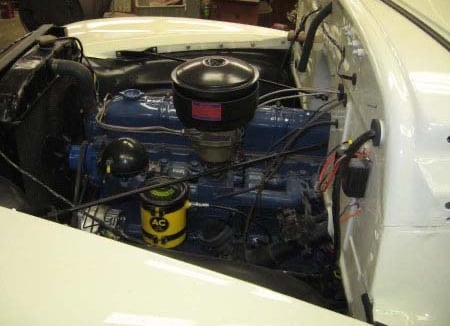

Kind of beginning to look like a truck again with a stock engine compartment!
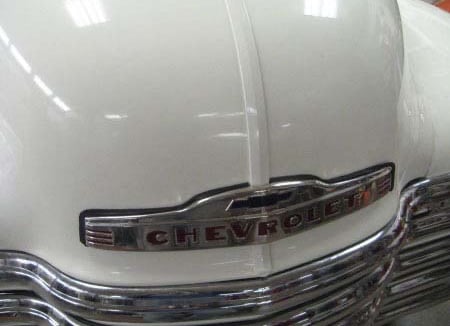

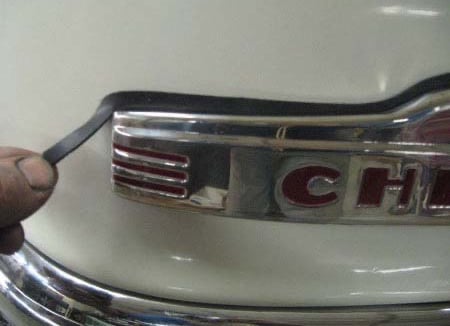

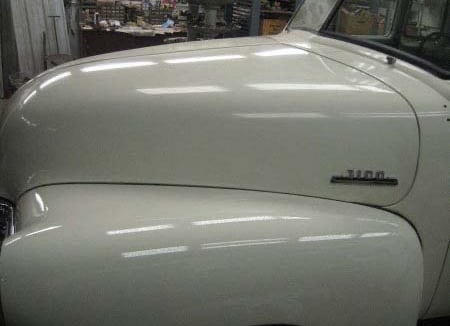
We almost had to use new reproduction hood trim and grille after refinishing everything else. Thankfully, the front hood trim gasket comes oversized rather than undersized.....
....and can be trimmed to fit.
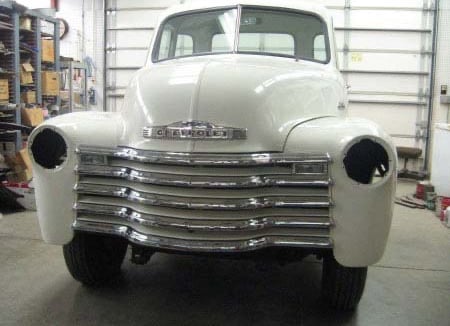


The hood alignment gave us fits. What looked pretty good before the truck was disassembled turned out to not be good enough when everything was freshly refinished.

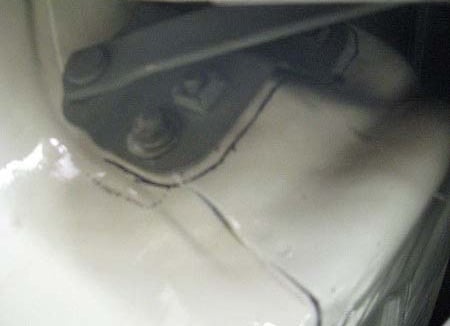
We tried numerous adjustments on each side. If we got the gaps right, the hood would sit high--higher than the cowl. When we would bring the hood down, the alignment gaps with the cowl and fenders would be awful. On top of that, the best fit put the hood latch in a bind where the hood wouldn't open freely. We finally put a different set of hood hinges on that were not as worn. That was what it took to get the hood right.
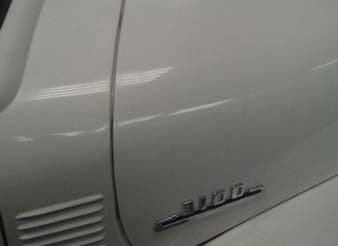


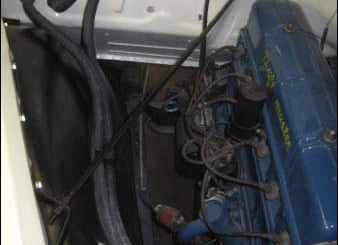

The heater hoses could finally be run once we were done with the hood adjustments. This picture also shows one of the terminal blocks for the headlight wiring. These blocks are similar to the originals but have 4 terminals rather than 3. The additional terminal is for the turn signals, which have been added with a second filament in the original style parking light housings.
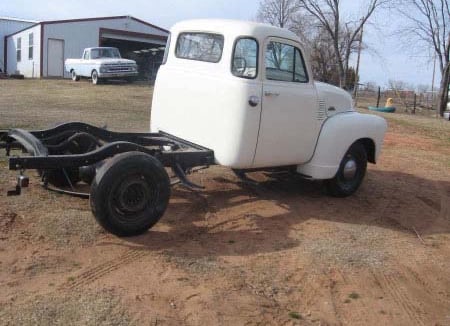

The truck sneaks out for a test drive to see how everything works.
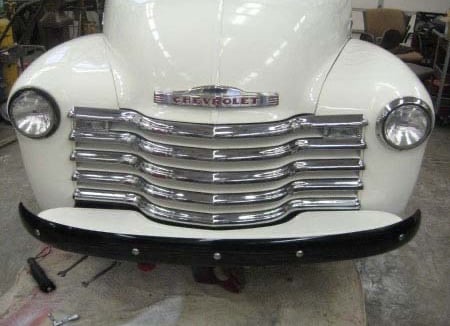

With the under-hood work pretty much done the front fenders were wet sanded to 2000 grit and machine buffed with a medium compound, then swirl remover. Then it was time to install the front bumper.
The truck was missing the front splash apron when we got it. The front bumper had some slight damage and was replaced with a new one. Again, what looked pretty good prior to disassembly wasn't good enough to put back together. This picture was taken after considerable '"adjusting" of the bumper brackets. The splash apron gaps show that, even after some serious adjustment, the bumper is still shifted to the left.
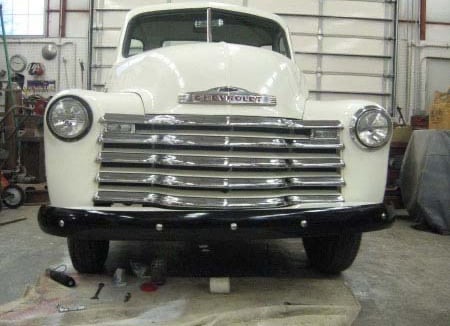

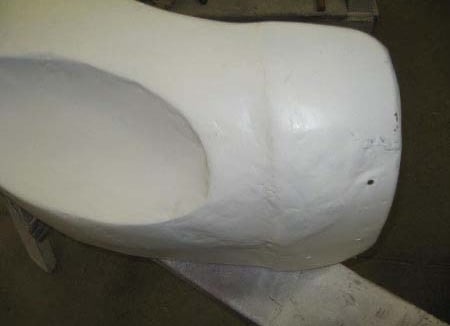

A little more head-on view makes it easier to see the bumper is also high on the driver's side. At this point, as much as we prefer original parts, it appears a pair of reproduction bumper brackets might be the most cost-effective solution.
We'd previously blasted and epoxy primed the left rear fender. However it had been damaged before and someone had stretched the metal severely while 'repairing' it. We've been disappointed by price and quality of so many after-market reproduction parts that we decided to fix this one. That's easier than finding a good used one--all of which are over 50 yrs old!
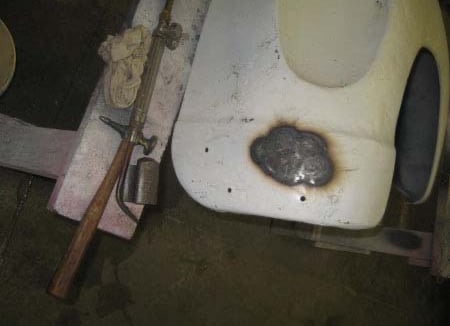

The first step is shrinking the stretched metal. A small area is heated cherry red with the torch. The excess metal is gently tapped from the outside into the red area with a hammer and dolly. Then the heated area is quenched with a wet rag. The rapid cooling causes a visible shrinking right before one's eyes.
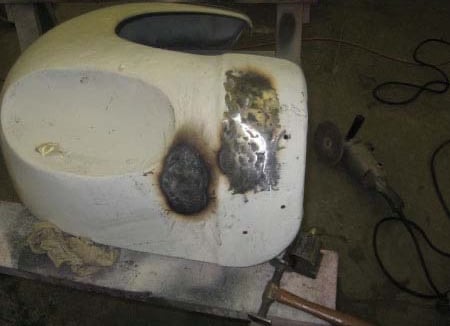

The area being worked is occasionally hit with a grinder to check for the proper shape, identifying any high or low spots.
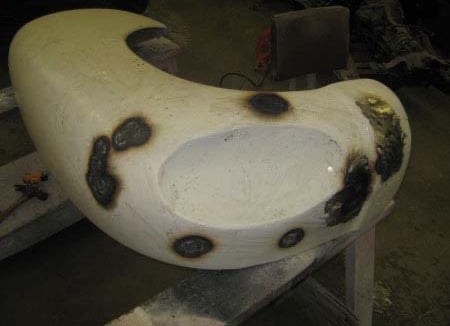

Shrinking the metal just takes patience--working one area at a time.


The steering wheel had cracks at each spoke junction. Each crack was cut back to where the wheel was undamaged--some places to the inner metal ring. The gaps were then filled with epoxy. The wheel was sprayed with a black epoxy primer and then finished with black single stage urethane.
It's often a toss-up; choosing between working with what we have and taking the chance we'll have to work on whatever else we can find in the marketplace. In this case new bumper brackets went a long way toward getting the front bumper and splash apron aligned properly.

