

1953 Chevy Truck - Engine and Doors
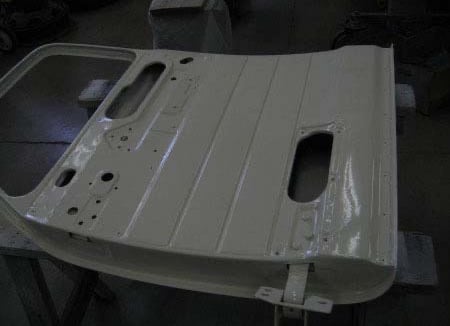
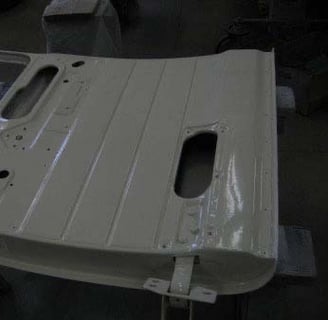
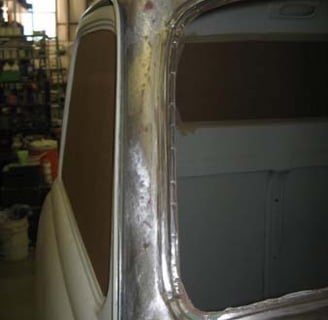
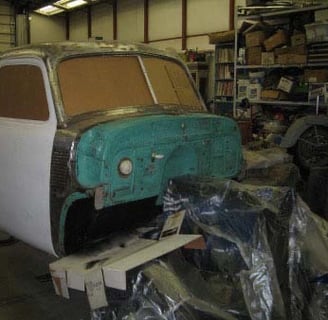
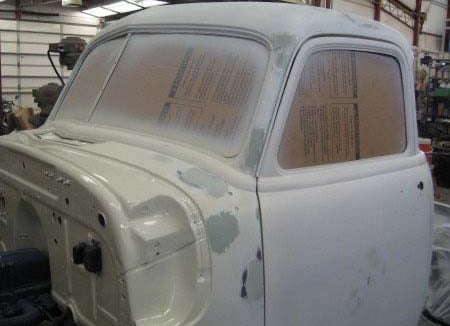
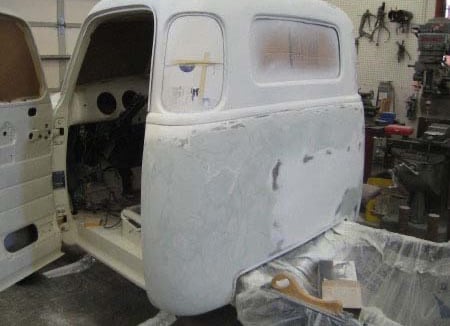
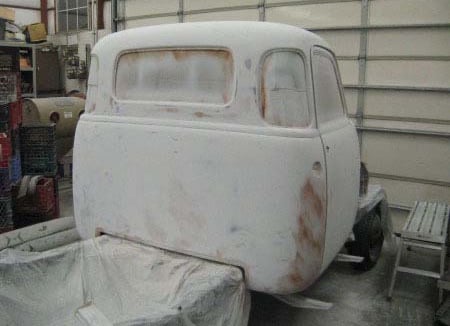
All the cab but the firewall was sanded to bare metal. It was important to get the window openings clean and free of rust. The firewall needed some minor repair down by the floor. The rest was in very good shape and the original finish cleaned up well and still had excellent adhesion. Between the steam cleaner, DX330 degreaser, and sanding with 320 grit it took paint very well with no evidence of fisheyes.

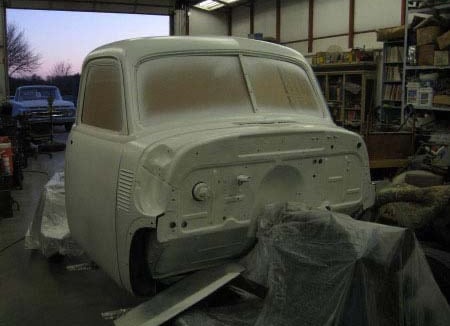
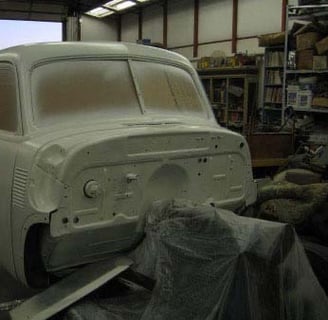
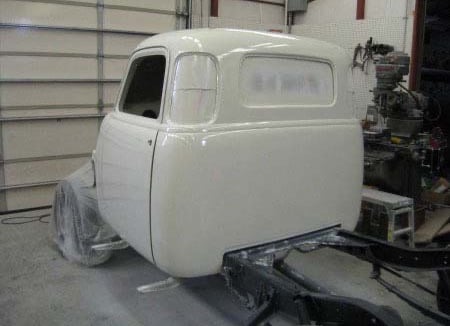
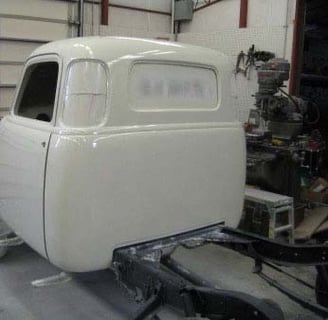
The cab was then given two wet coats of epoxy primer.
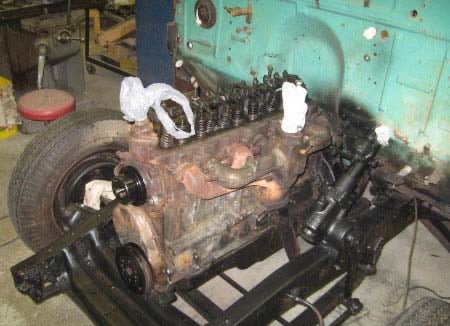
The semi-gloss black on the chassis will look very clean when the front sheet metal is built back. Next is cleaning and preparing the engine and firewall for paint.
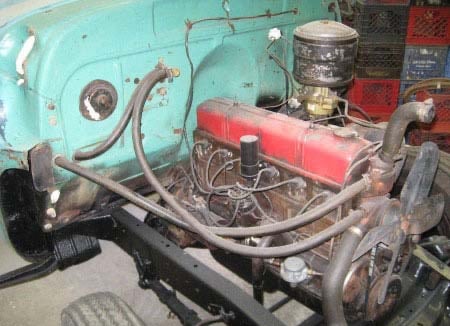
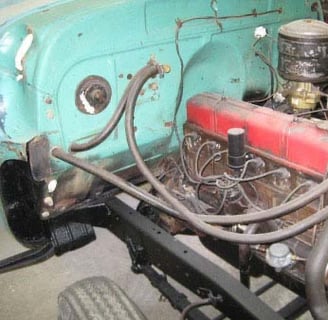
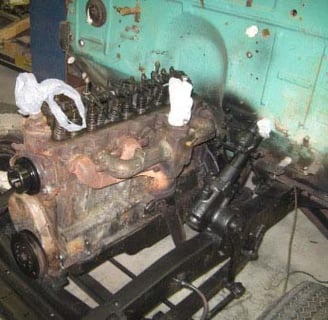
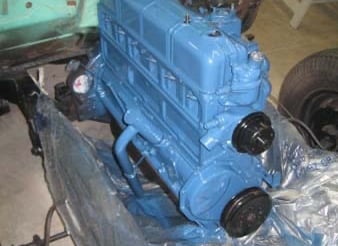
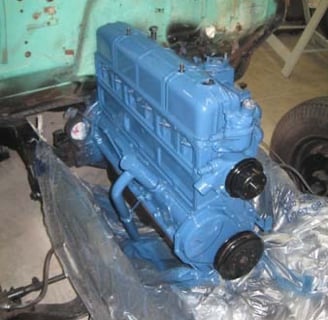
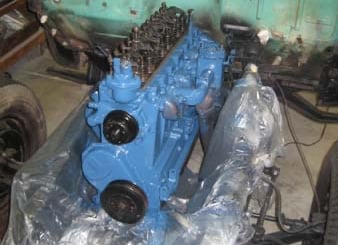
Nearly all external parts were removed from the engine block for painting and detailing.
The Paint Place (thanks Brad) was able to come up with the paint code for the original blue used by Chevrolet for truck engines in 1953. The contrasting colors give a tiny hint of what's to come!
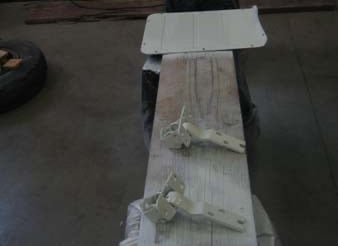
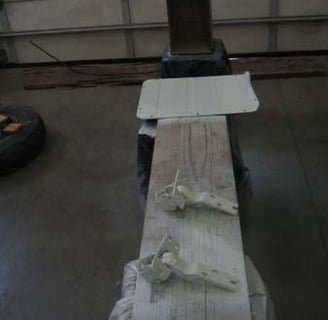
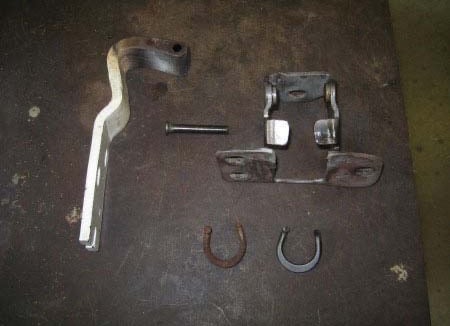
The door hinges are a good illustration of the challenges in doing good restoration work these days. The old driver's door top hinge was severely damaged. A used one was obtained but it took both hinges to make one usable one. We had planned to use new reproduction hinge springs due to wear and slop in the old spring ends. The reproduction springs were over .020 in smaller diameter wire and a looser fit than the worn originals. Shimming the original springs with washers gave a better result than using the "new" parts.
The insides of the doors, door hinges, transmission tunnel and battery covers were all painted to match the rest of the interior.
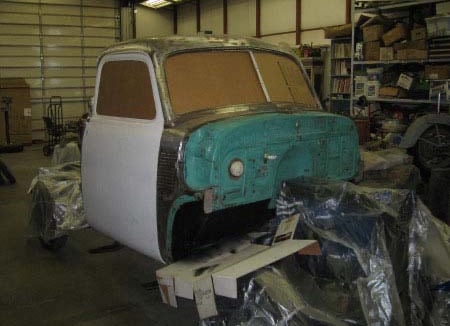
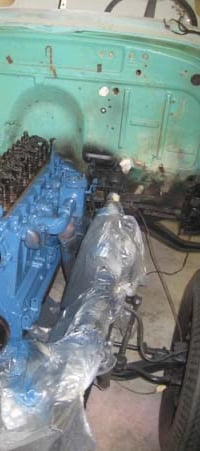
The firewall was sprayed with the same original Chevrolet white. Three coats gave good coverage and a nice gloss. Next up will be smoothing out all the little dings and dents in the cab and reinstalling engine and firewall components.
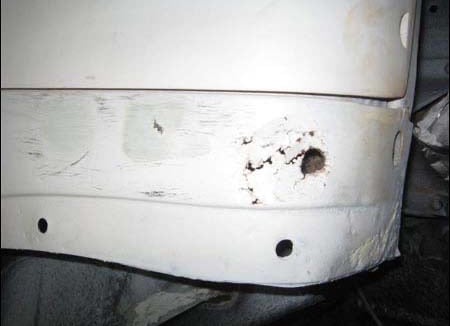
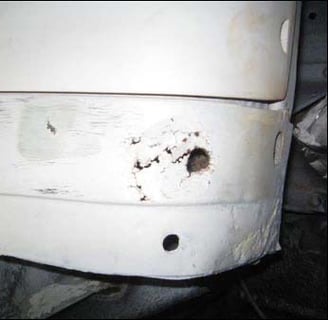
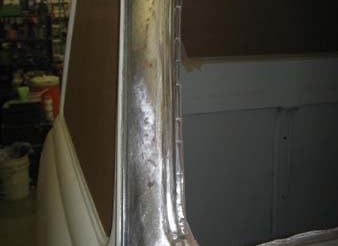
Major dents were worked by hammer and dolly before the epoxy primer. Smaller dents were worked after the primer was in place. A couple rust spots were found that hadn't been obvious. In this case tiny pin holes were opened up considerably before getting back to solid metal, necessitating welding in a metal patch.
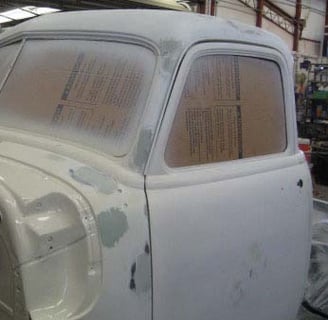
Numerous small dents and imperfections required attention.

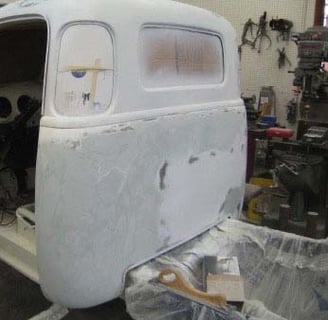
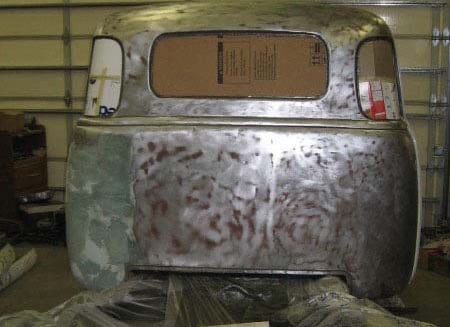
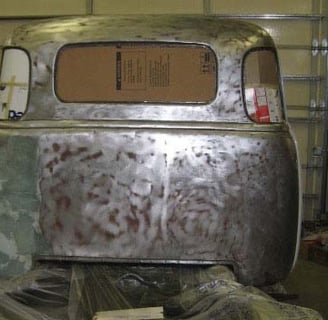
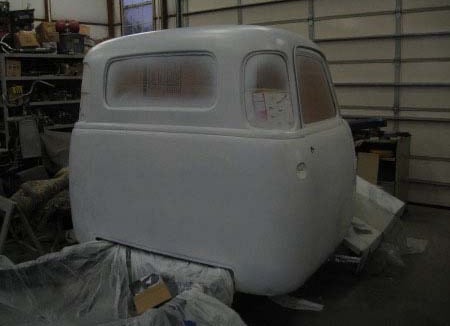
The rear of the cab seems to take a beating in almost any pickup. After the individual spots were worked a skim coat of body filler helped smooth the overall contour. Here it's all sanded to 80 grit. Next will be 180 grit over the entire cab and 3-4 wet coats of primer surfacer filler.
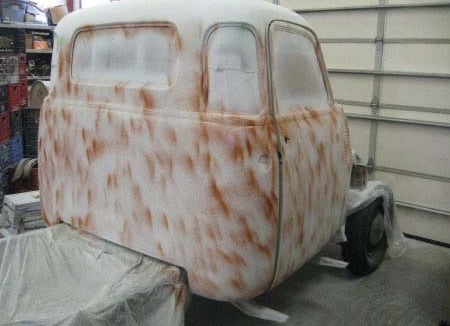
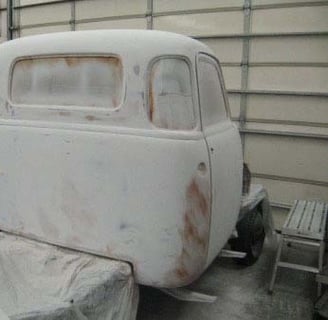
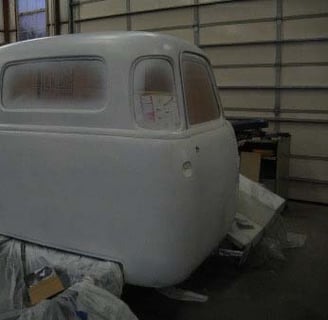
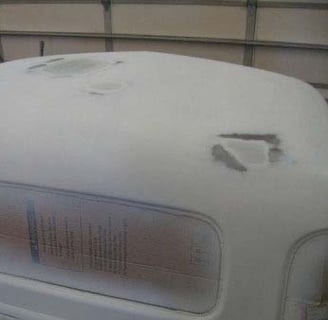
The cab was sprayed with primer-filler which is a modern, heavier version of primer-surfacer. A spray can of brown lacquer was used to dust a light 'guide coat' on top of the primer.
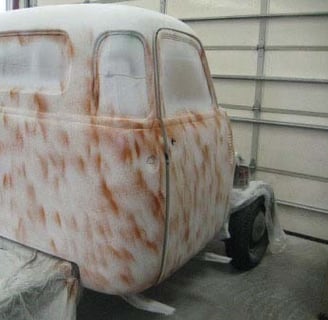
The guide coat was then block sanded again with 180 grit. The guide color is nearly all removed, leaving brown only where there are low spots or other flaws that aren't easily visible to the naked eye. Those same flaws, however, would be magnified when sprayed with shiny paint if left as they were.
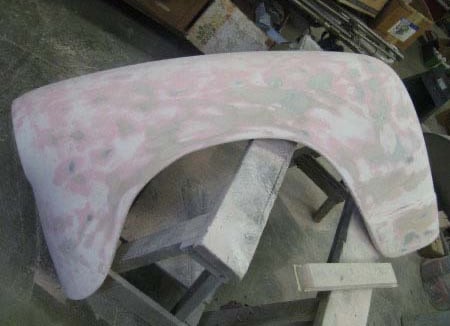
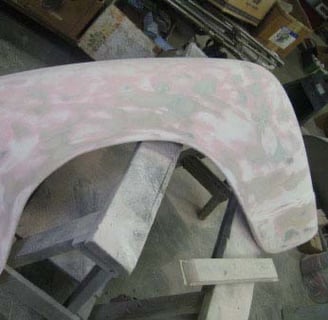
This fender has been primed, guide coated, and block sanded with 180. Some of the layers end up microscopically thin. The picture gives an idea of the subtle reworking necessary to iron out nearly six decades of acquired wrinkles.
The cab exterior was sprayed with 2 coats of sealer, then 3 wet coats of single stage color. After one week it was color sanded to 1500 grit. It was then machine polished with fine compound and then swirl remover, using two different pads to avoid contamination by the coarser grit.
