
1953 Chevy Truck - Cabin Reassembly

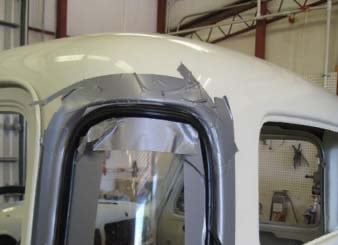

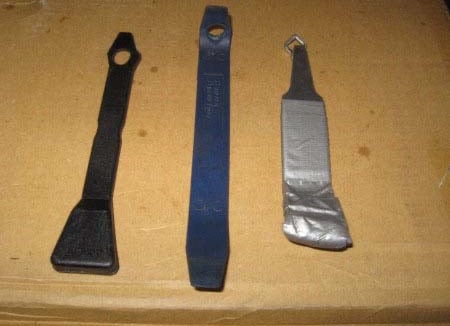
The lock bead goes through the hole in the tool. In this picture the rubber on the left would already be in the center channel of the trim and the tool would be pushed from left to right pushing the bead on the right into the channel.
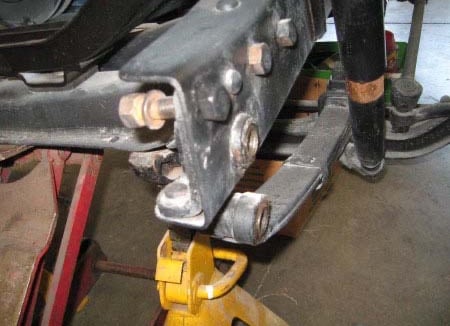

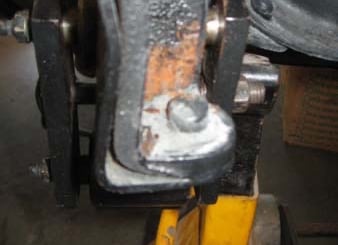
Others had warned us to check the spring shackles for wear. In fact, a couple looked a little funny so we took them apart. The shackle pins are basically big threaded screws that turn into their threaded bushings. The pins showed no appreciable wear but the rubber seals were in very poor shape. New ones are on the way and should do a better job of keeping the grease in but dirt and water out.
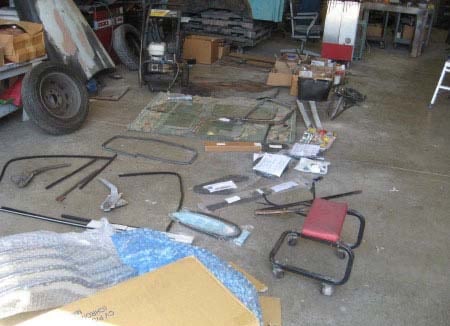
Next is turning our attention toward reassembly, beginning with doors, glass, and other cab and engine hardware. Here is the initial layout to compare the old pieces with the new. Unfortunately, very few reproduction parts are identical to the original. Therefore nothing is discarded until the new item is in place and functioning.
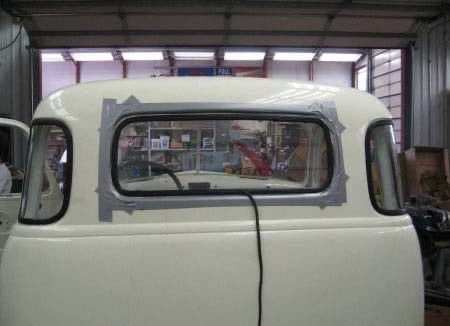
The cab corner windows were in excellent shape to re-use. All other glass was cloudy and new pieces were cut locally for considerably less than the aftermarket catalog prices. The corner windows went in with the rubber trim fairly easily. The challenge was the lock bead that goes in the center of the trim to hold everything in place.
We tried Armour All, glycerine, and dish soap--all to try getting the lock bead to slide more easily into the rubber trim.
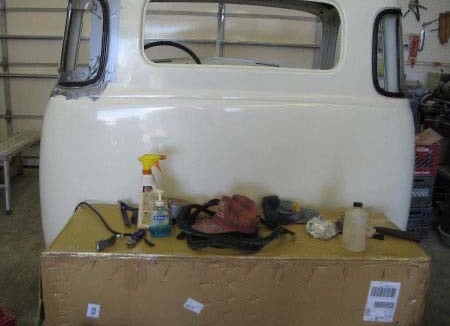

Bob at City Glass showed us a homemade tool he uses on the lock beads of old rubber trim like this. We made two attempts to duplicate his tool. The one on the far left was made from a plastic trim tool. The middle one was made from a nylon body pry tool. Neither would quite do the job. We then found a tool available from Classic Chevrolet Parts in Oklahoma City, shown on the right. That one needed to be smoothed some on the grinder and it really needs a better handle. For our purposes a little duct tape softened the hand-held end enough to push the bead in. Even with the tool we found it necessary to use tire machine soap to lube the trim and lock bead so everything would slide together.


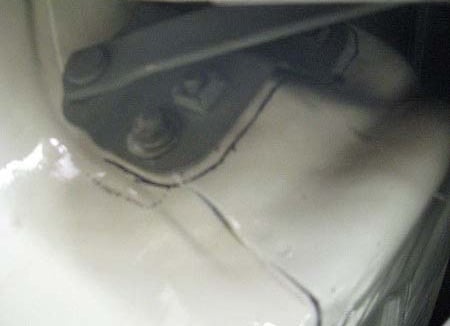
The dark black piece on the right is the spring shackle plate attached to the top pin. The shiny part on the pin is where the rubber needs to go.

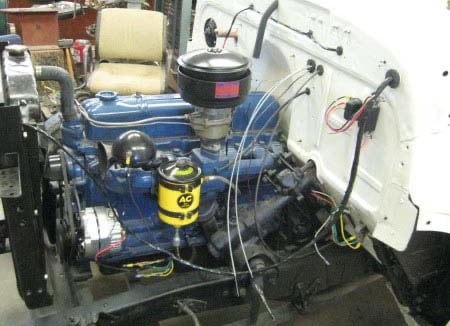

In mid-1953 Chevrolet went to vinyl covered wiring rather than the older cloth-and-lacquer covered wires. It was decided to use a reproduction wiring harness which, despite a few challenges, still saved a lot of time. The new harness came already set up for an internally regulated alternator and flashing turn signals. The engine was wired and plumbed enough to reawaken it by running after approximately a year of slumber. Other than a leaky water pump all was good. We would highly recommend this method of revival--that is, run the engine and get all the major adjustments made before reinstalling the front sheet metal.
Jeff at Bowtie Bits in Wichita completely refurbished the gouges. He did an excellent job, including using the 0-30 babbit bearing oil pressure scale and an ammeter range suitable for the 12V alternator.
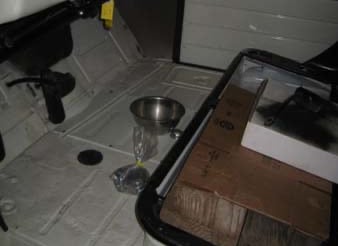

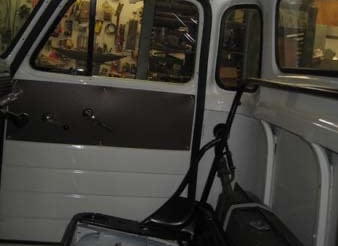

We finally found an original radio-delete plate in the dash of an old parts truck.
It takes a lot of patience to fit all the little trim items that make the door panels, headliner, windlace, etc. look like they are factory-fresh.
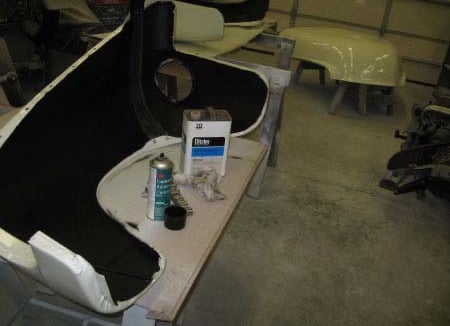

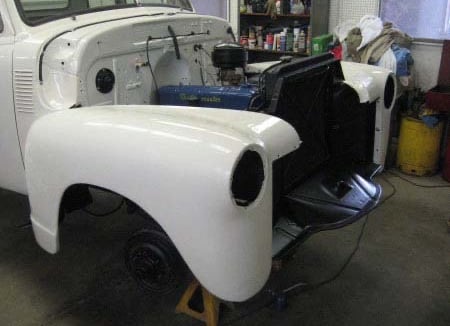

The front fenders and hood were undercoated with a 3M product #08883. It goes on as a medium film and dries to paintable in about an hour. We've used this product several times and not always gotten the same can design, but the number is the same. We hope 3M will continue to make a product like this. It's great for a finished look along with some degree of sound deadening and protection from stone damage.
The edges of the front fenders were sanded and buffed around the cab and grille areas. Other than that, the 'extra' paint was left on in order to provide a little more protection while mounting and doing final things under the hood such as running the heater hoses and headlight wires.
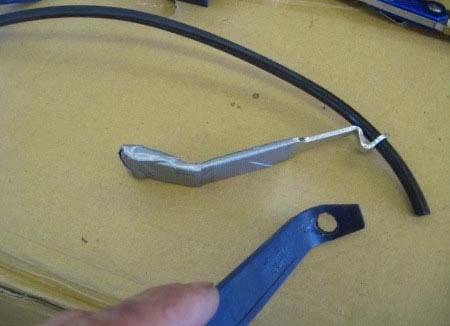

The extreme pressure it takes to push the lock bead into the channel tends to stretch the bead somewhat. After it was in the channel all the way around we pushed the bead backwards in the channel to take some of the 'stretch' out of it. We let it set a few days and pushed it around some more before trimming the excess. And yes, the duct tape provides cheap insurance against slipping while pushing the bead in with the tool.
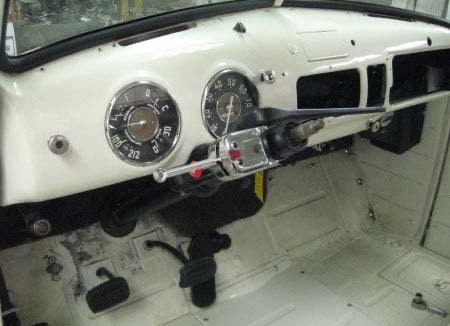

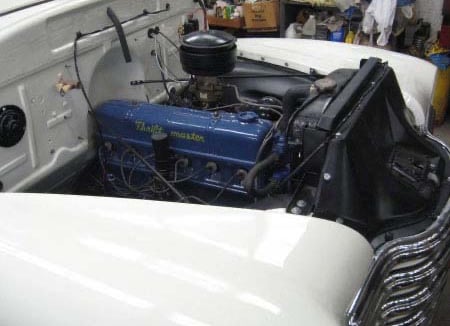

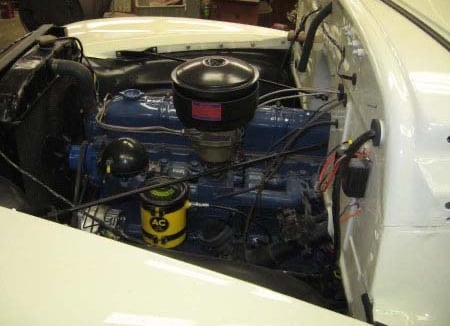

Kind of beginning to look like a truck again with a stock engine compartment!
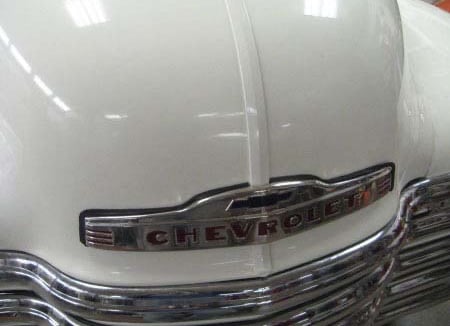

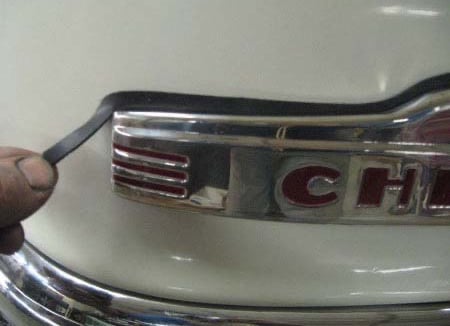

We almost had to use new reproduction hood trim and grille after refinishing everything else. Thankfully, the front hood trim gasket comes oversized rather than undersized.....
....and can be trimmed to fit.
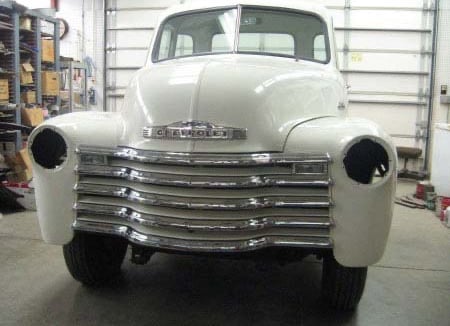


The hood alignment gave us fits. What looked pretty good before the truck was disassembled turned out to not be good enough when everything was freshly refinished.

