

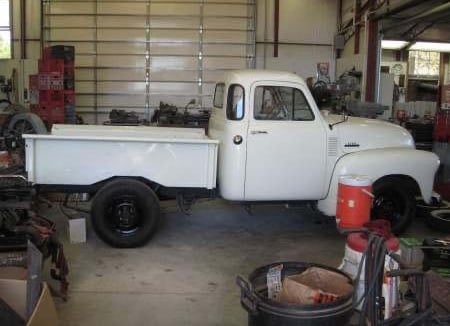
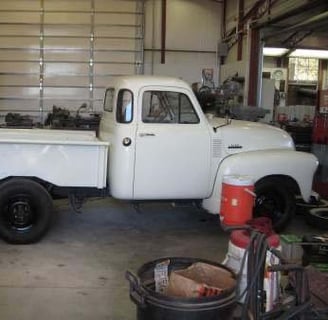
1953 Chevy Truck - Bed
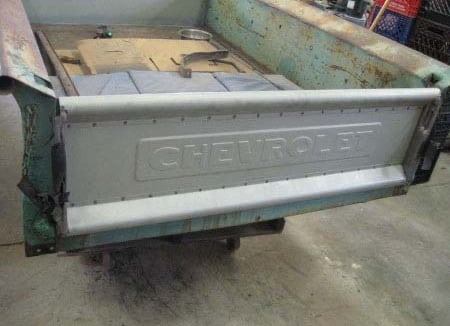
Few people in 1953 bought these trucks just to drive back and forth to the grocery store. Rather, the old trucks wear some signs of their long and faithful service. High quality reproductions of the front bed panel and tailgate are available from Mar-K Industries right in nearby Oklahoma City. That seemed like the best way to go.
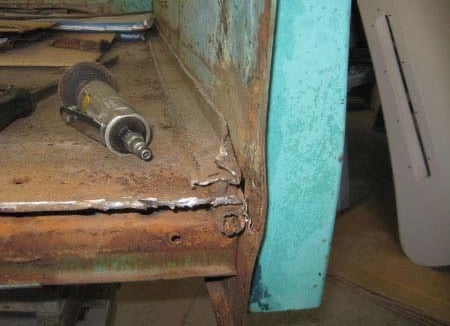
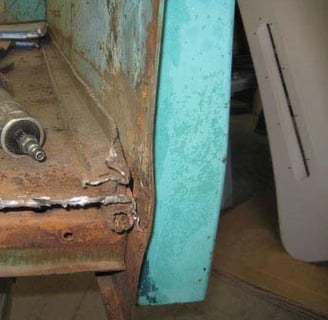
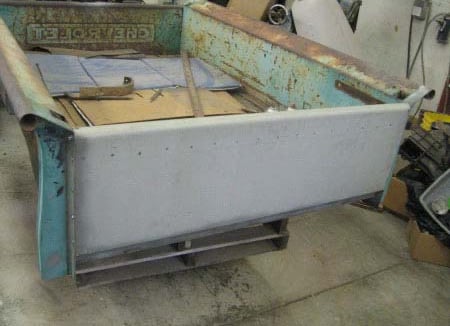
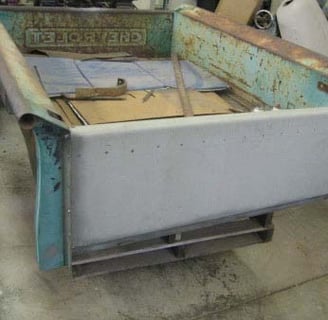
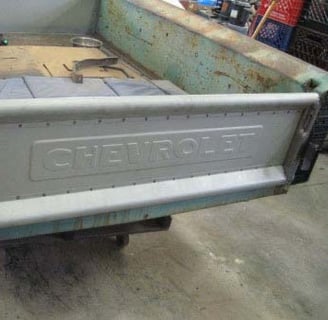
A little more corrective surgery was required to get a good fit on the new panel.
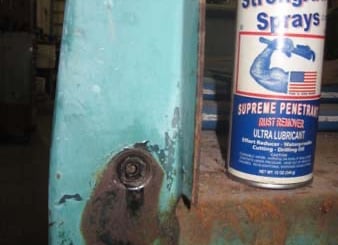
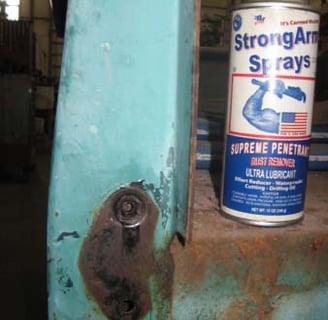
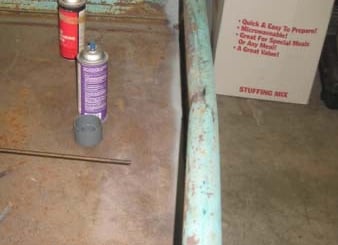
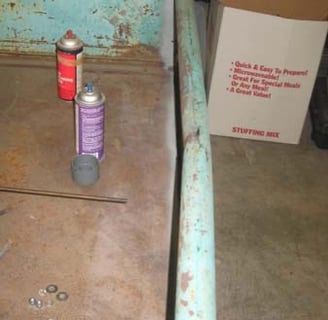
It would seem to be a simple job removing the tailgate. The top bolt on each hinge goes into a captive nut. The excess length of bot sticks out the back of the nut in a place that can't be reached from behind. Fortunately we were able to break each bolt loose. We carefully worked each bolt out and back in about a quarter turn at a time. Each time the bolt was sprayed with StrongArm Spray to carry some lubricant back into the nut. Eventually each came out without damaging the threads of the captive nuts. We were reluctant to use heat in any way for fear of warping the sheet metal.
The bed and spare tire rack were then sandblasted--in, out and under.
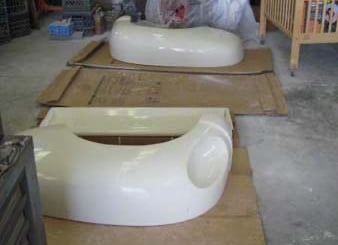
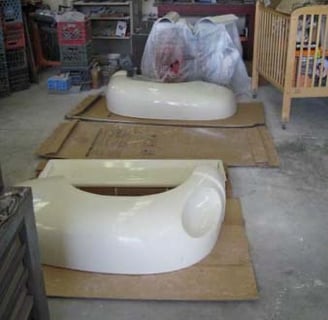
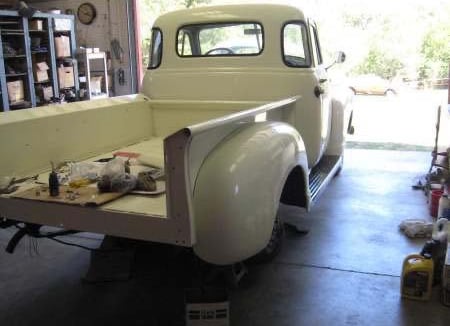
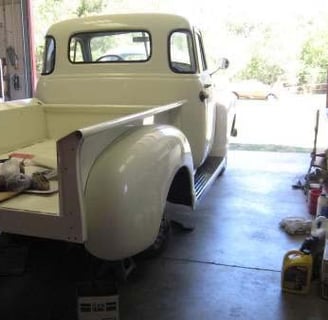
The bed was primed with epoxy primer in preparation for further body work. The underside and tire rack were topcoated with the final color right away to avoid the need to be sanded again. This picture also shows the fenders beginning to return to their original shape.
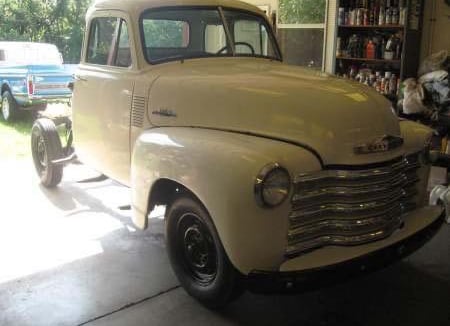
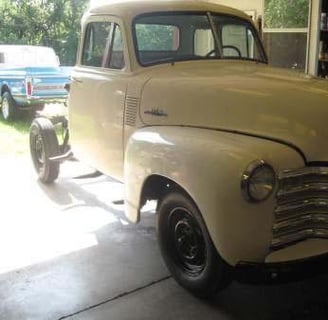
New tires and tubes were mounted after the 5 original rims were powdercoated. We're toying with the idea of some orange pin stripes to tie in the OSU colors of orange and black. For that reason we're leaving the hubcaps off for now, in case we end up pulling the wheels to spin them (by hand!!) on the balancer while pinstriping. That decision will be made when we can look at the truck overall with the bed and rear fenders back on.
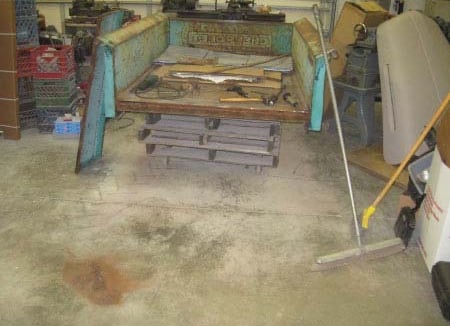
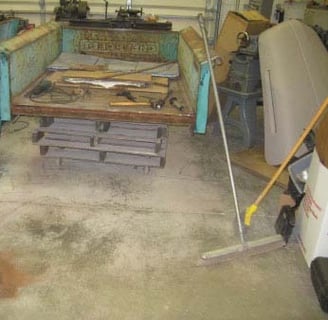
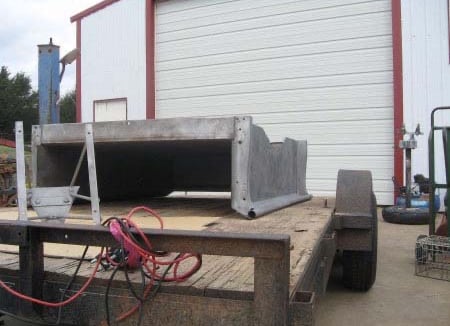
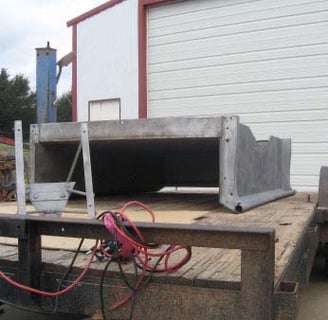
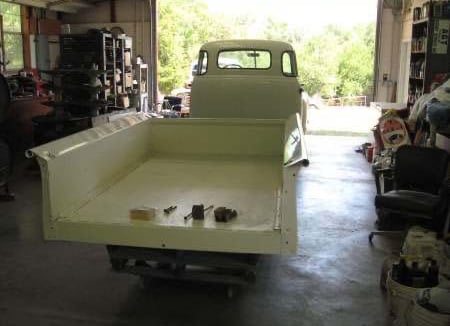
The original bed floor was long gone. Someone had welded in a steel plate, supported by round stock and 'edged' with angle iron. Some surgery was required to remove the old front panel.
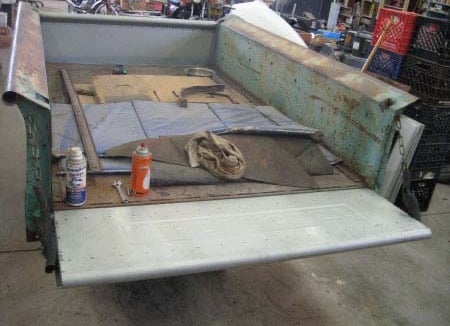
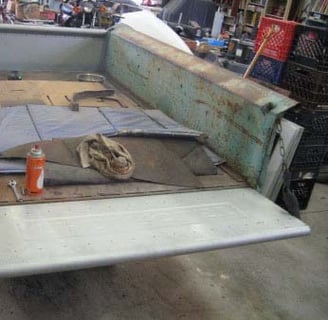
The tailgate was fitted in a similar fashion before any further body work.
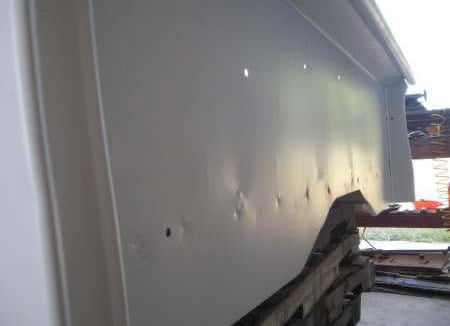
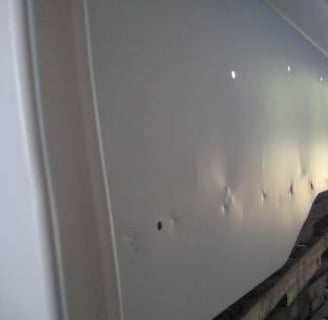
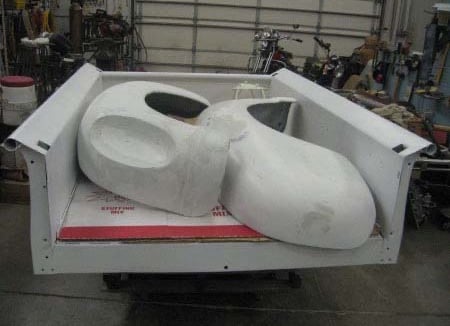
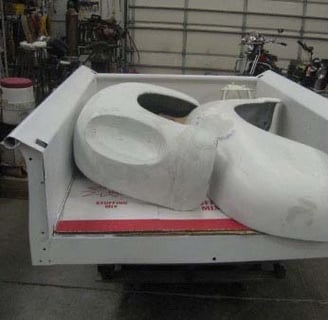
The bed had a plate welded into the floor on the inside. While the inside won't be on display, it also caused damage and warping on the outside. The initial reaction might be to fill all the flaws with plastic filler. Unfortunately, that method doesn't do very well, particularly on a pickup bed. One consideration is the weight and flexing at the mounting points of the fenders. It was realized that a majority of the welding damage is in the areas inside (covered by) the fenders. So, it appears the judicious use of a little filler in the areas that will show can be made to conform with the natural look of the bedsides, as they'll be once the fenders are mounted. This was a hard-learned lesson of the past when a great deal of effort was once expended to get a pickup bed's sides laser-straight only to have them take on a slight warp as the fenders pulled and twisted on them.
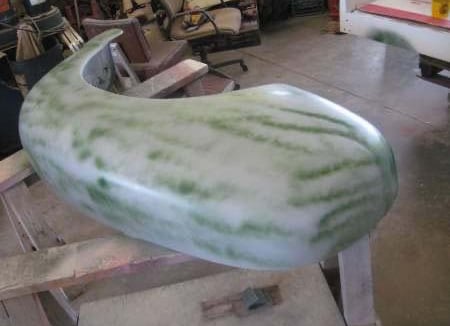
The right rear fender with a guide coat after having been sanded with 180 and reprimed.
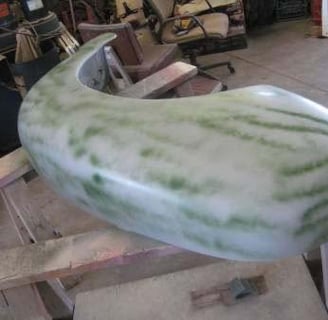
The left rear fender after the guide coat was sanded with 320 grit. The only way to get a really nice job is to keep working the steps, always cleaning up the smallest flaws that appear at each stage. Here there are a couple imperfections still, but we're getting close. We ultimately sprayed one more round of fill primer and wet sanded with 400 to get the bed and fenders to where they don't show so many of the indignities suffered over such a long life of use as a truck.
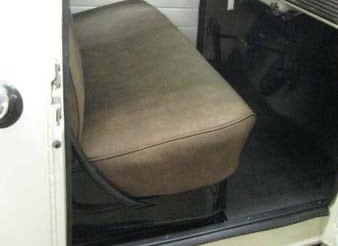
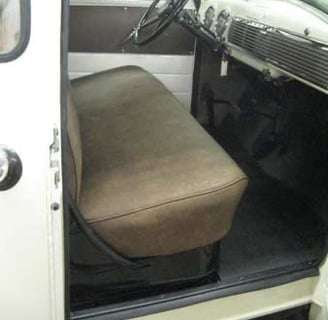
We kept looking at the interior. As nice as it was, it was somehow too busy. We finally realized that we'd painted the cab interior and lower seat frame all the factory white color (see earlier pictures). There were white spots that showed around the floor mat and pedals, etc. We pulled up much of the mat and backing pad spraying the offending areas with semi-gloss black to blend it all in with the rest of the flooring. That gave the simple, uncluttered, all-business look we were after to the interior.
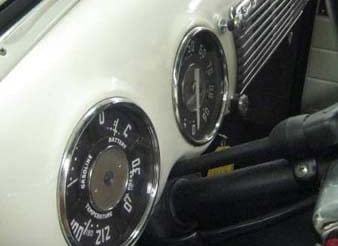
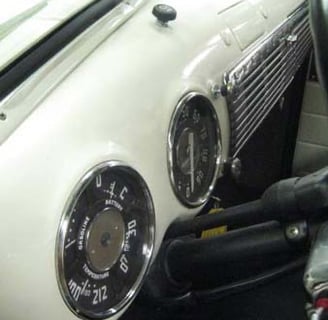
Just two things remain in the interior. One is a reproduction window regulator crank handle that isn't quite like the original. We may end up drilling the regulator shaft slightly to give it a way to stay on with the set screw. The other item is the wiper knob mounted on top of the dash. This is way different from the original knob, but that's what comes with the electric wiper switch. We can't stand the look of the "street rod" style knob and fully intend to come up with a way to mount the original lever--despite the differences in the two switch shafts. ANY AND ALL IDEAS ARE WELCOMED FOR THESE TWO ITEMS!!!!
We kept looking at the interior. As nice as it was, it was somehow too busy. We finally realized that we'd painted the cab interior and lower seat frame all the factory white color (see earlier pictures). There were white spots that showed around the floor mat and pedals, etc. We pulled up much of the mat and backing pad spraying the offending areas with semi-gloss black to blend it all in with the rest of the flooring. That gave the simple, uncluttered, all-business look we were after to the interior.
The fenders and bed were sprayed with two wet coats of sealer, just like the rest of the truck. We applied an extra coat of color (4 total) to give plenty of material for sanding and buffing since the rear of the truck had so many more little nicks and dings.
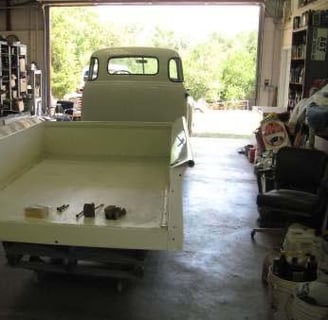
Here the bed is set back on the frame with the correct blocks and pads. We're getting carriage bolts of the appropriate lengths and will then loosely hang the fenders, valance panels, and running boards. That will allow us to get the right fits and proportions before tightening anything down.
So far, so good.
