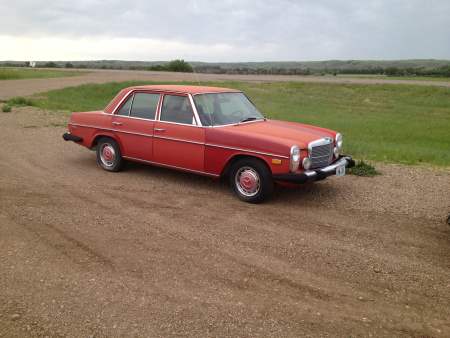
1974 Mercedes 240D as it was before traveling to Oklahoma for a freshen up. The car had been parked unused in Wyoming for a dozen years or so.
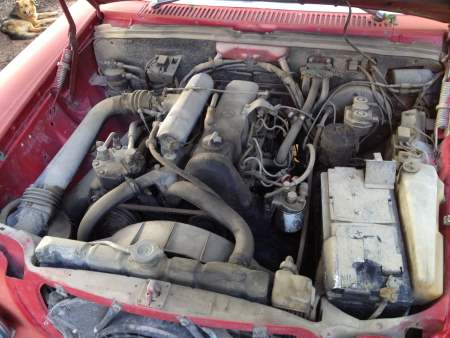
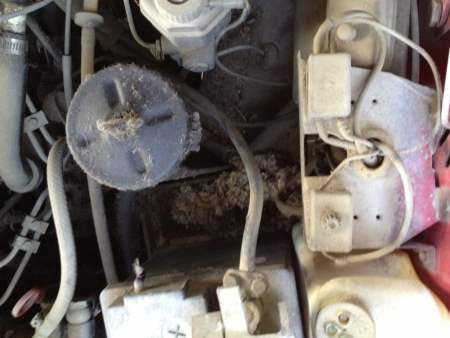
Mice apparently found satisfactory housing under the hood.
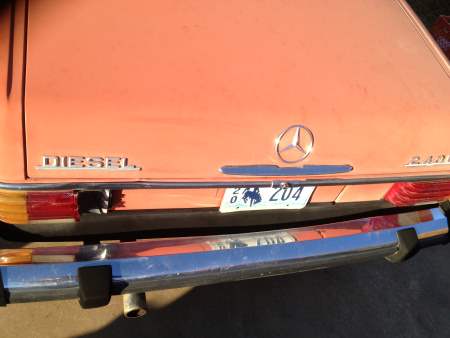
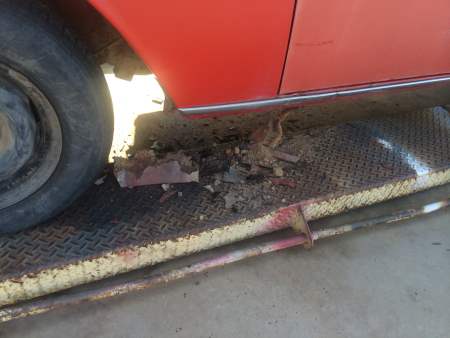
A tap from behind will have us looking for some used parts.
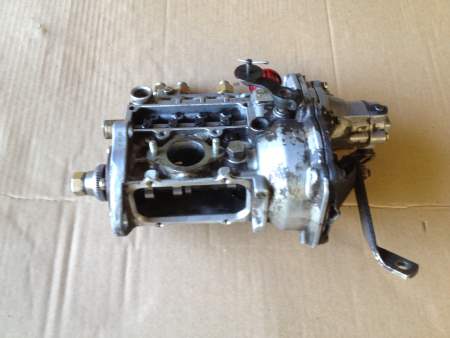
The car started and ran without too much trouble. Unfortunately, it didn't run well and was low on power. The #3 cylinder wasn't getting any fuel. We finally determined that the #3 piston in the injection pump was stuck. Even after freeing the piston, there were still flow issues. When one of the fittings broke we were forced to begin looking for parts.
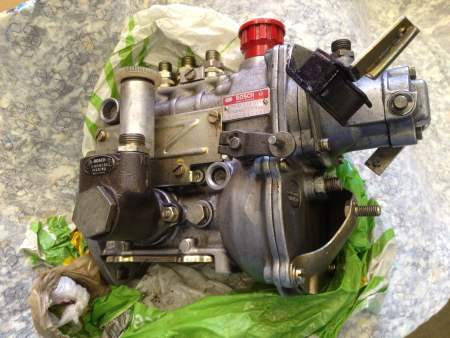
This pump was found in England listed on eBay. It was supposed to have been New Old Stock, but looked more like it had been on a car at some point--possibly a warranty item? In any event, we got it working and verified it with a bench test before installing it in the car.
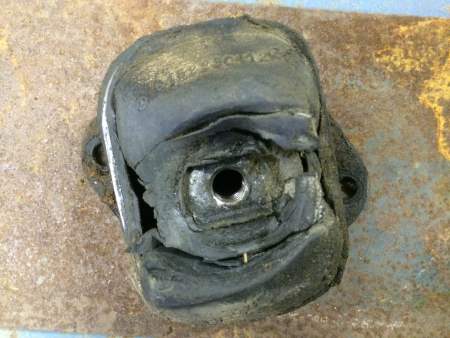
The motor ran much better once it had the proper fuel delivery. However, the car shook rather violently coming off an idle so it appeared something still wasn't right. It turned out the driver's side motor mount had expired. We'll be replacing both while we're there.
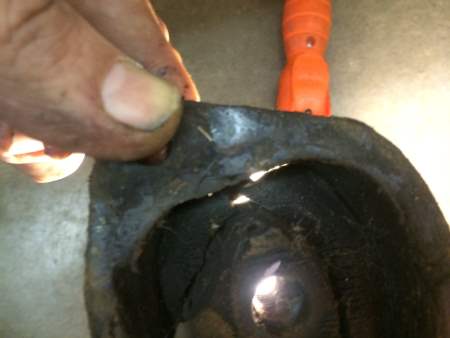
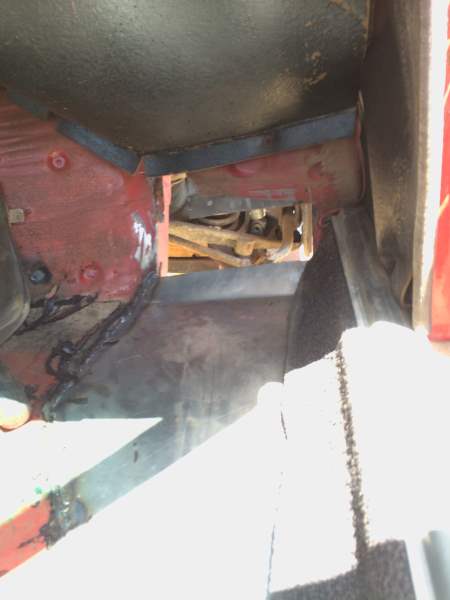
Once the car was running and drivable again we could feel a certain vibration. Being able to see daylight around the driveshaft center support bearing is not quite the way it left the factory!
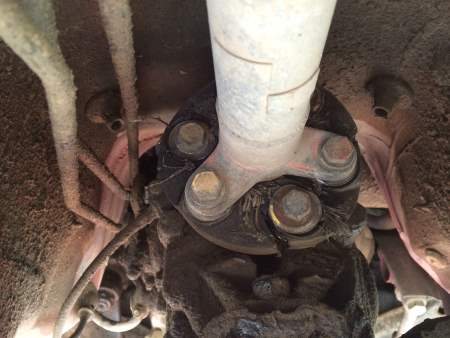
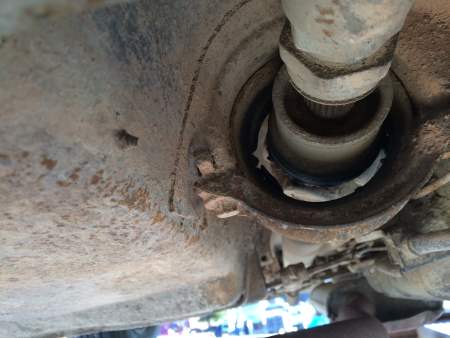
Upon closer inspection the front and rear rubber couplings that connect the drive-shaft to the transmission and rear differential also were showing serious signs of deterioration.
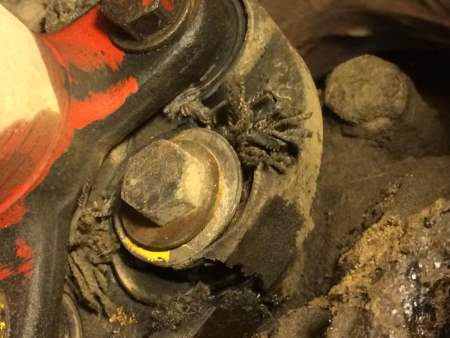
The car being up in the air was a good time to freshen the 4-wheel disc brakes. The master cylinder built good pressure but only one wheel had any significant braking. The other 3 brake calipers were essentially stuck. We cleaned the bores and put new piston seals in all 4 calipers and reassembled with new brake pads.
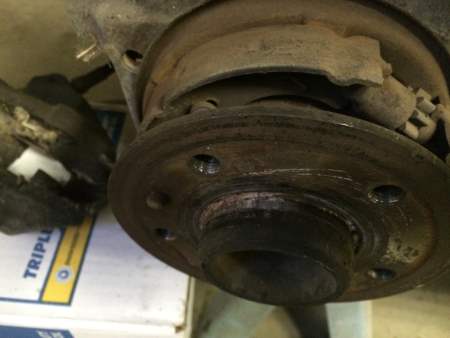
The parking brakes are a drum style that expand inside the rear calipers. Now we know why the parking brakes didn't work--the shoes were completely gone from both rear wheels!
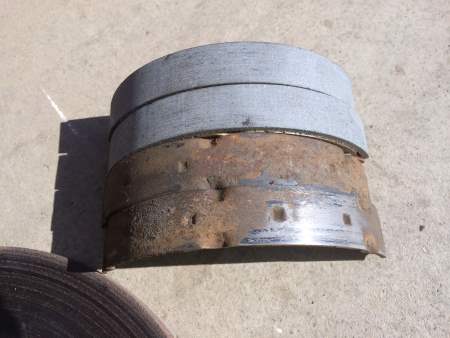
They look a little different with new linings.
Looking ahead, a determination must be made regarding the nature and extent of rust repair to be done. While not a simple prospect, one must remember it took 40 years to get to this condition. We 'understand the goal to be a reliable, presentable car that's fun to drive more than a show car so we'll discuss options with the owner.
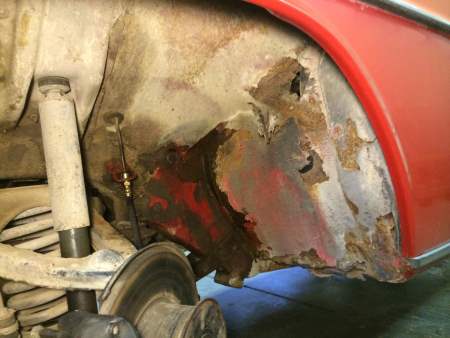
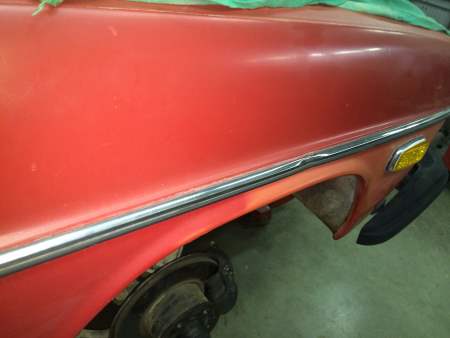
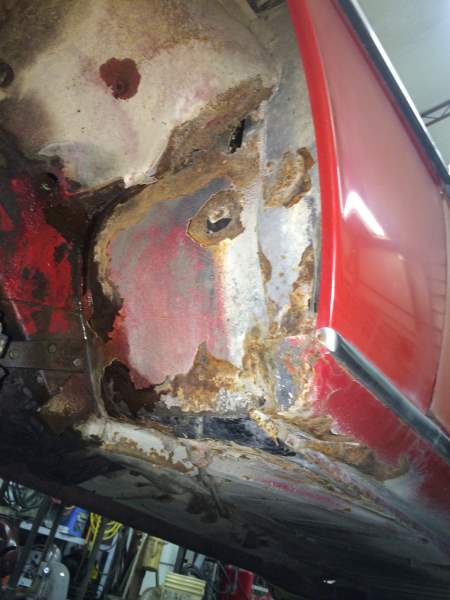
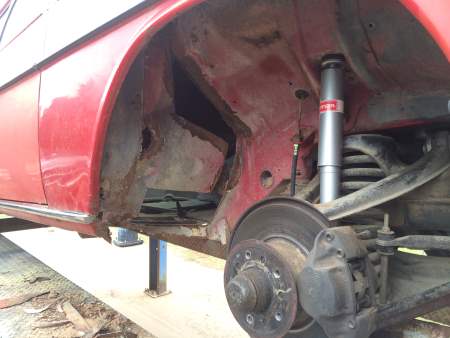
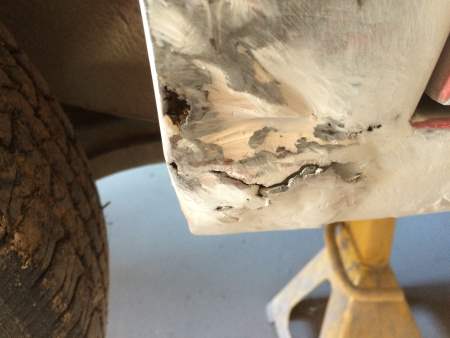
Left front wheel opening
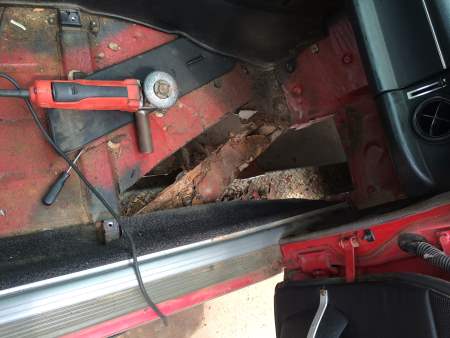
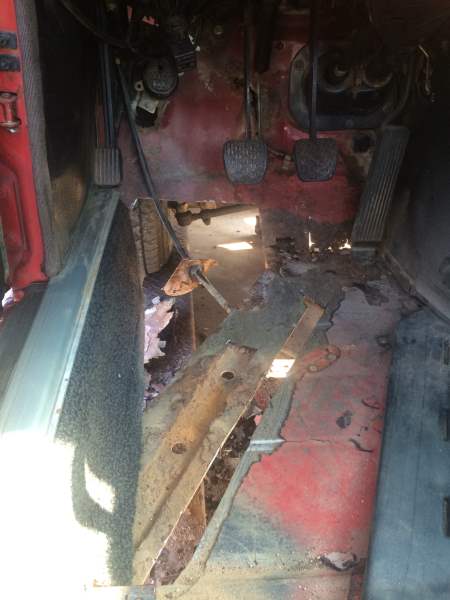
Left front floorboard. The black at the bottom is the underside of the floor mat.
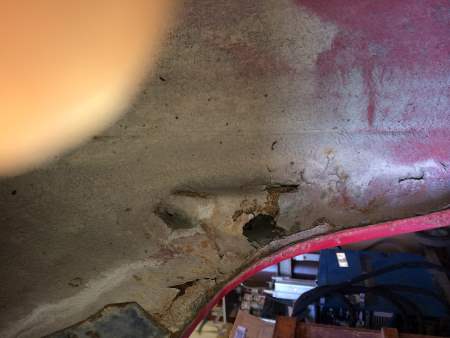
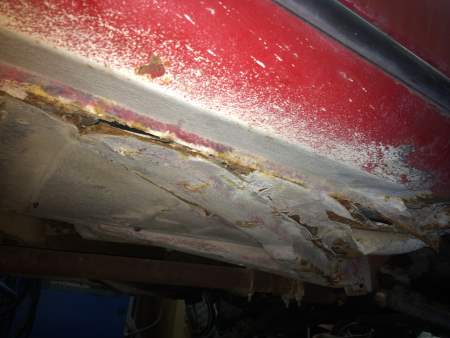
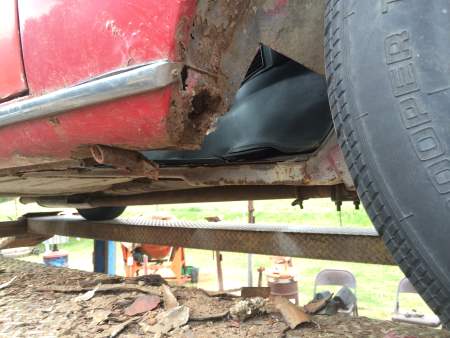
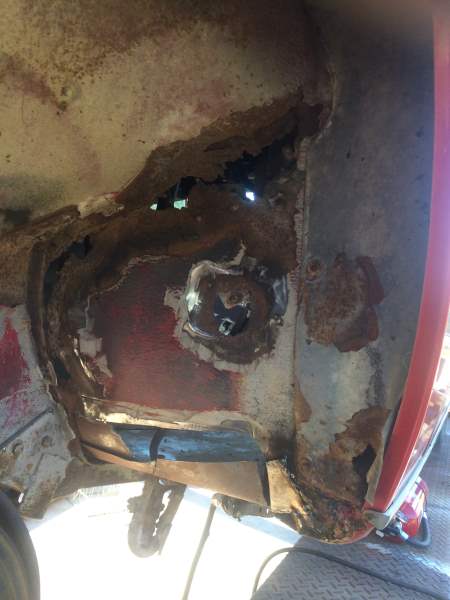
Inside the LR wheel opening. That's the edge of a previous patch on the left.
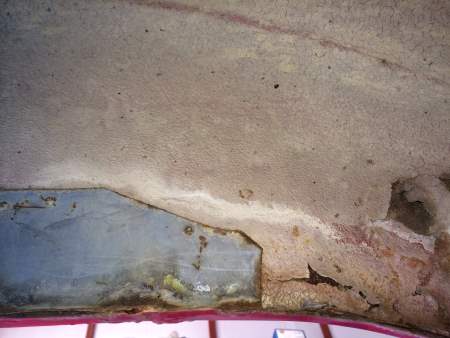
This is a little more of the LR wheel opening patch.
The left rear quarter panel also had a patch piece placed on the inside to give some strength to compensate for old rust damage.
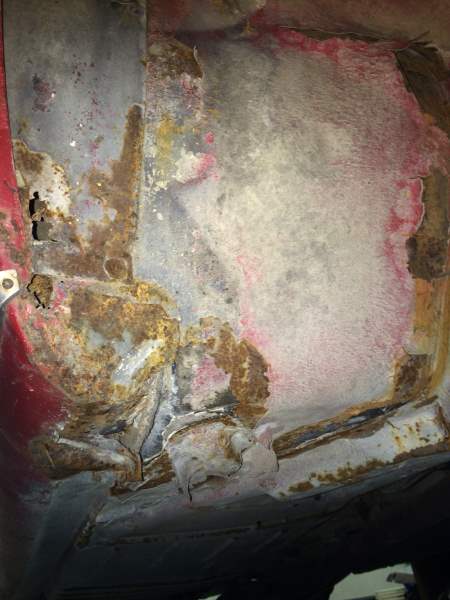
Right front floorboard.
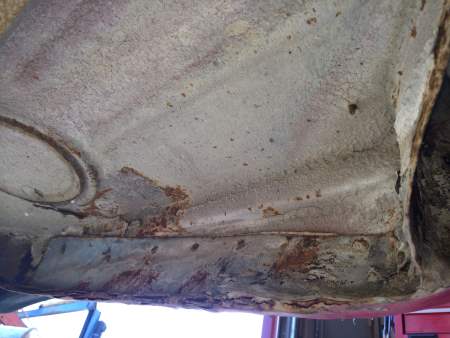
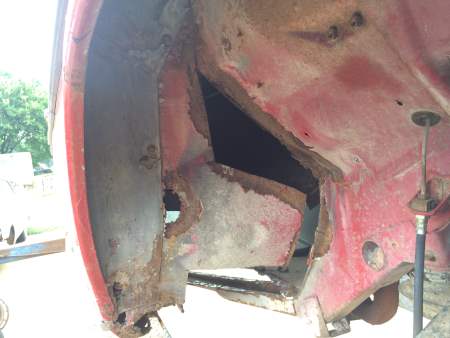
Back of the right front wheel opening.
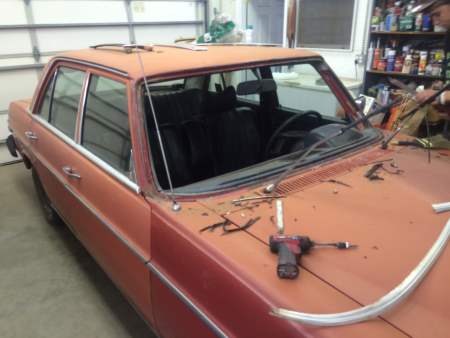
Finally time for a new windshield.
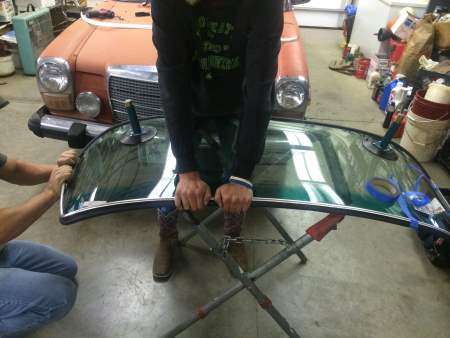
Both the rubber and metal trim go on before the glass goes into the opening.
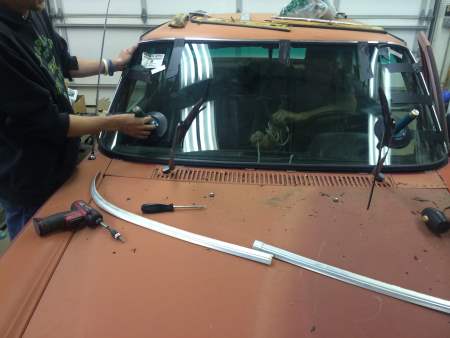
It takes lots of care to gently ease the glass into exactly the right spot.
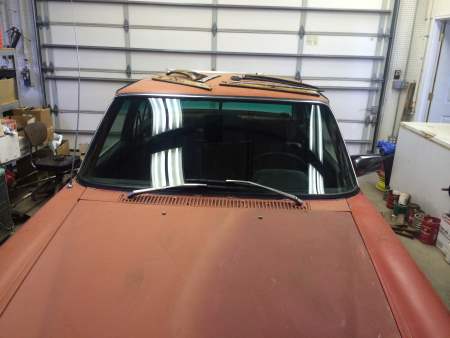
Better!
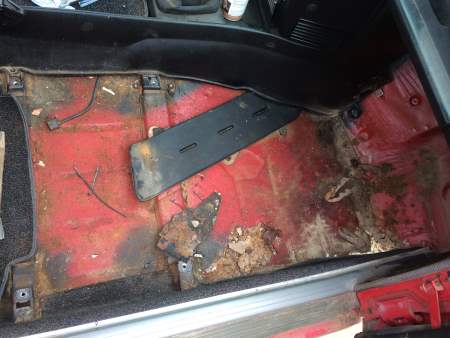
It was finally time to tackle some of the rust issues. First the RF seat was removed and the floor covering stripped back.
The RF toeboard tells the story from the inside.
The worst thing about repairing rust is deciding where to stop. One often ends up cutting back a lot farther than originally expected to get past the 'swiss cheese' and back to solid metal.
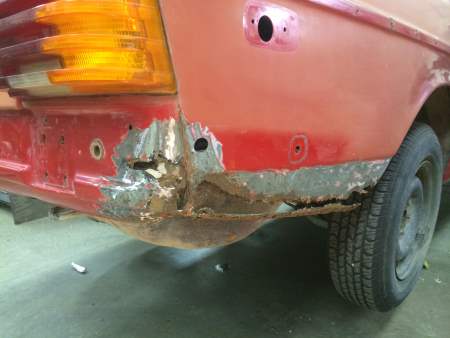
View from the outside.
While it might look like a big cutout and that a single piece would suffice, the wheelwell was actually a fairly complex shape.
Repairing smaller areas made it easier to maintain the proper shapes.
The floor board could be made from a single piece and even bent up into the base of the toeboard. The heavy structural brace visible in the earlier picture supports the floorboard from underneath.

The patches will be solid and treated with undercoating, which will retard future corrosion, smooth out the appearance and deaden annoying sounds somewhat for greater cabin comfort.

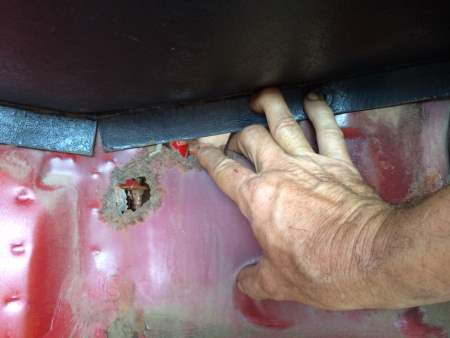
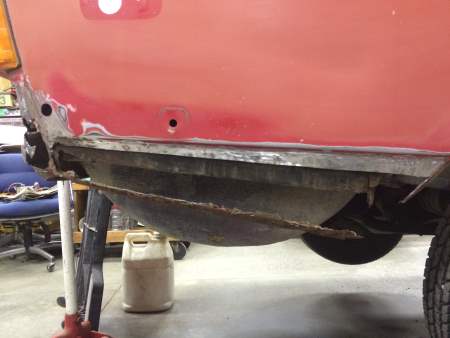
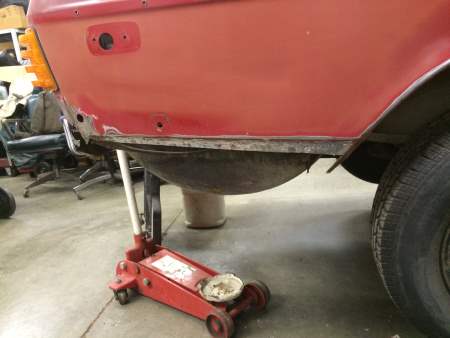
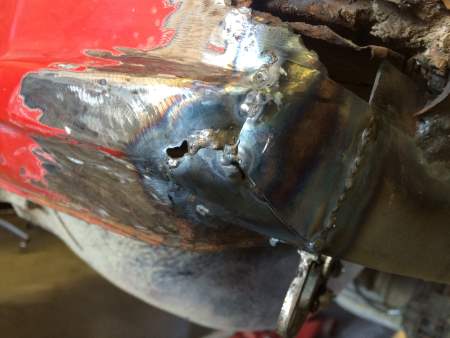
The right front jacking spur was nearly flapping in the breeze.
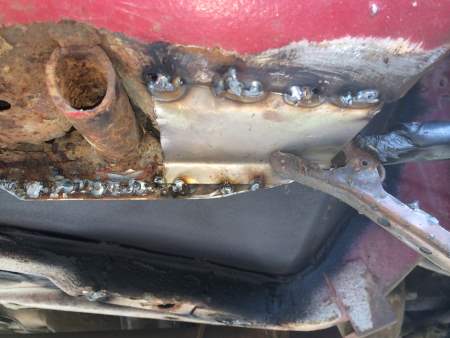
It was put back into position and new metal was formed around it for proper support.
In some ways the left front floor board and wheel well were worse than the right side.
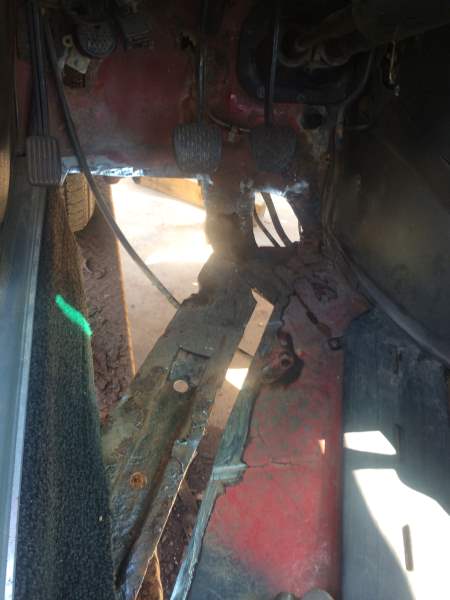
Part of the challenge on the driver's side was all the inside wiring and plumbing leading to the driver area. A little more of this side will just be covered with new metal and sealed.

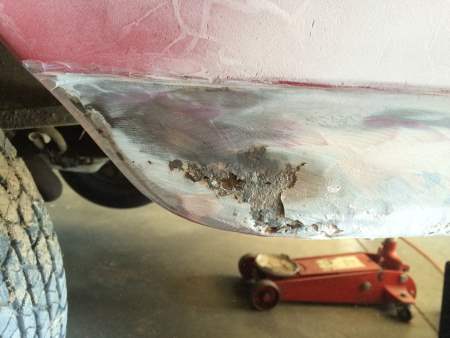
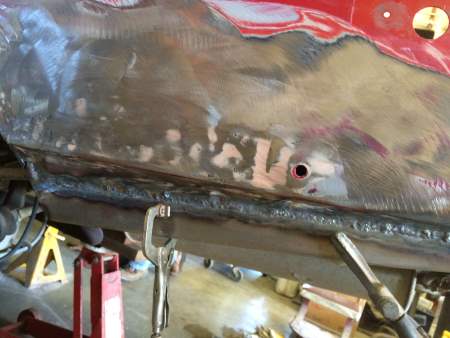
The RR quarter panel was ground back far enough to find solid metal. The part on the bottom had just enough left to be used for a template to make a new section.
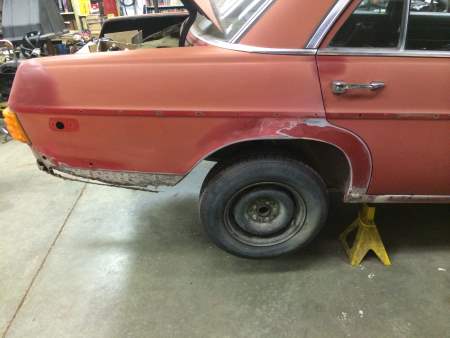
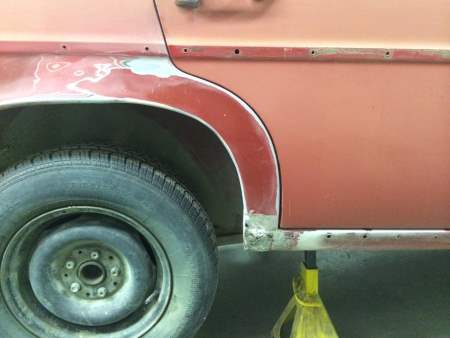
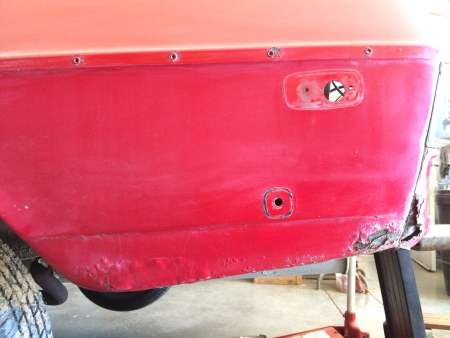
The 'dogleg' in front of the RR wheel had also been repaired before. We carefully sanded outwardly around it to see how far the repair had gone. At the very bottom in front of the wheel one can see the previous repair was performed by putting plastic filler over the rust holes. Unfortunately, something similar can be expected in the repaired area of the dogleg.
Top of right rear wheel opening.
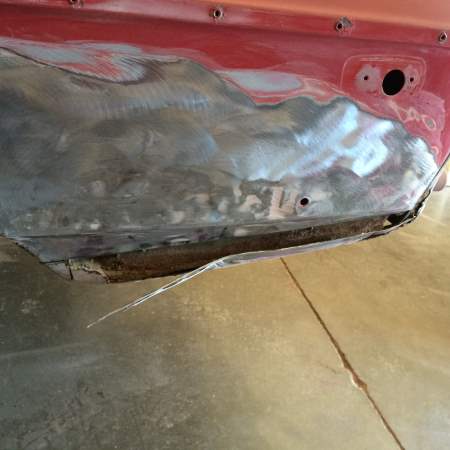
The top cut was made first while still using the bottom for our pattern.
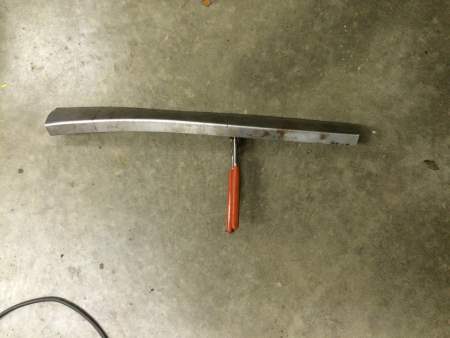
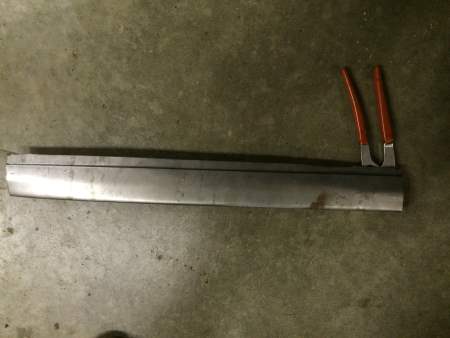
A new piece was fabricated, first breaking the right angle for the bottom, then rolling the metal over a mandrel for the right curvature top to bottom. A bead was rolled into the length of the panel to tuck under the remaining edge of the quarter panel. This allows a good surface for a strong weld. A shrinker/ stretcher was then used to duplicate the compound curves from front to back.
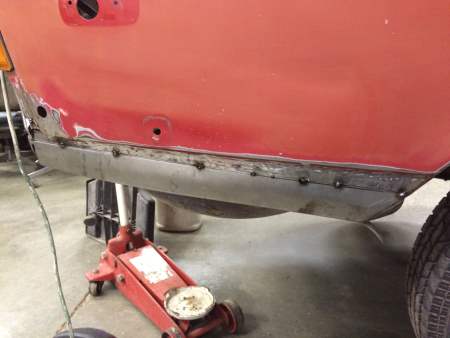
Tacked into place.
Left rear quarter
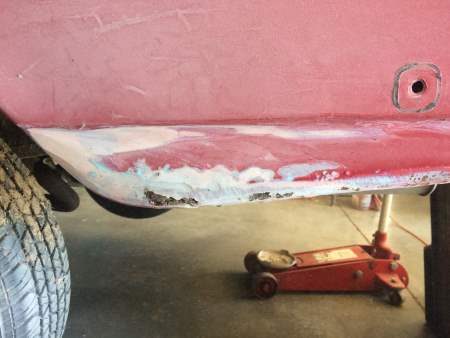
More plastic filler over previous rust damage.
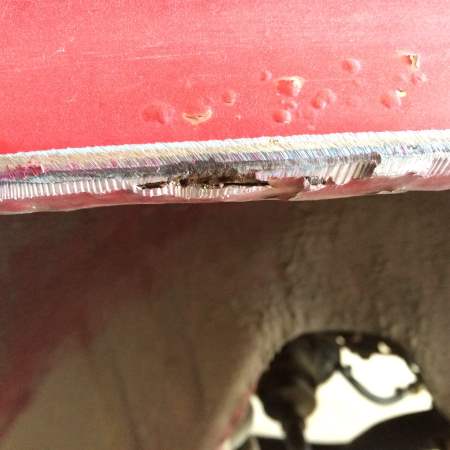
The repairs are stitch welded with a TIG machine. The stitching minimizes heat and warping. The TIG minimizes excess material to be ground back down to smooth.
|